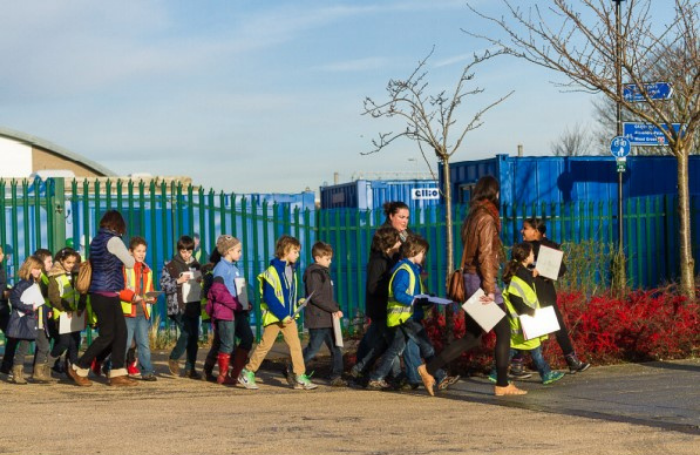
During lockdown many students were confined to indoor learning with a laptop as their main educational tool. Unsurprisingly many teachers and educators are keen to break away from digital learning this summer term, instead embracing kinaesthetic learning, and learning in the great outdoors which is more Covid-19 secure.
To inspire your planning, here are six of our favourite architecture activities you can do with students outdoors (weather permitting!).
1. Den Building
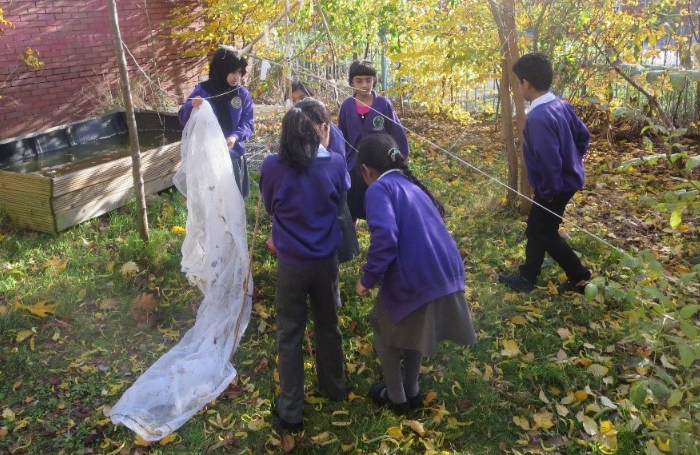
Tell students they will be designing and buildings dens to use in their playground or forest school. Explore together the spaces they will be located in and discuss what they need to consider in their designs. For example, are some areas more sheltered, how can they get light into their dens, do they want dens for different purposes such as to relax, to play, to read, to nap! Measure and mark the size of each den either with bright string or chalks and then ask students to create their dens in small groups, using materials such as bamboo canes, tarpaulins, bricks, logs, netting, cable ties. Hint, weaving in spare bits of fabric is a great way to make structures sturdier and more colourful!
2. Neighbourhood Spirit Treasure Hunt
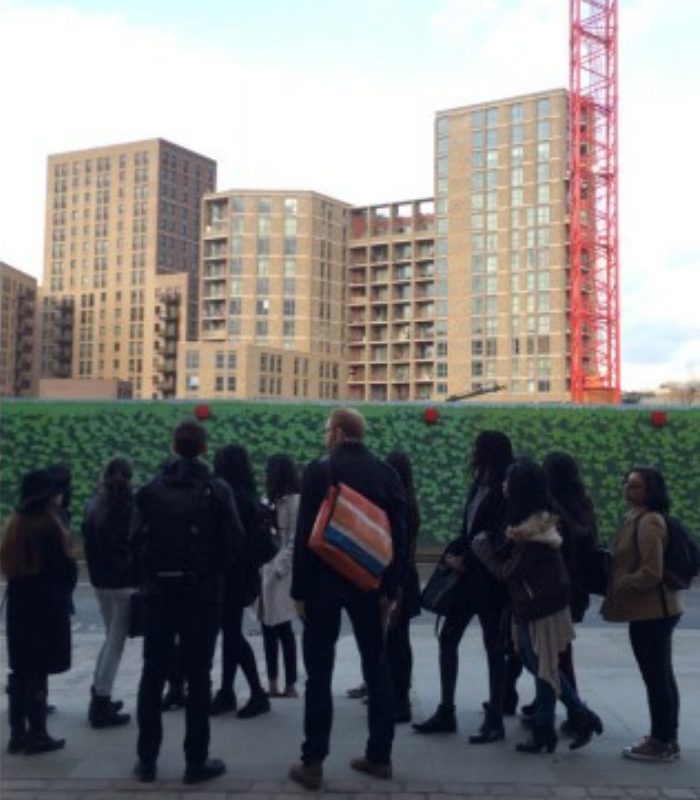
Create a walking route for students in your local neighbourhood which covers as many different types of spaces as possible. For example, residential, commercial, green, old or new buildings, public or private spaces.
Explain to students that, like people, local neighbourhoods are made up of different personalities and characteristics. Tell your students they need to find the ‘spirit’ of their neighbourhood by uncovering its personality traits whilst going on a walk. These traits can be split into natural and human traits, and each can influence the nature and character of their local neighbourhood.
Below are the ‘traits’ they will need to spot and document.
 Natural traits:
- Landscape
- Soil and geology
- Vegetation
- Land forms
- Seasonal weather patterns
Human traits:
- Buildings – their functions, history and the relationship of one building to another (density)
- Landmarks
- Roads and paths
- People
- Bridges and engineering structures
- Lamp posts and signs
- Fields, gardens, allotments, playing fields
When you return to the classroom, discuss what traits they have spotted and how this creates the neighbourhood’s personality. Can they create a mood board to show this, or even think about what the neighbourhood may look like if it was a person?
3. Material Exploration
 Put students into pairs. Each pair must take it in turns to be the explorer or the leader. The explorer shuts their eyes and the leader chooses a part of the school they want the explorer to examine using their senses other than sight. The leader will guide the explorer to this place, and the explorer will ask themselves the following things to try and guess what material they are feeling.
- Texture: Is what they are feeling rough or smooth?
- Temperature: Is what they are feeling warm or cold?
- Acoustics: What can they hear when they clap their hands next to the material – does it echo?
- Smell: What can they smell next to the material – is there an odour?
The explorer guesses what material they think it is and the leader tells them if they guessed correctly. The pair records what material it was and where they found it before taking a rubbing using charcoal or wax crayons. They then swap roles. At the end they should look at their list and see what materials are listed – are there any materials that are used a lot and can they guess why? Do they think it’s a local material?
4. Extension Sketches
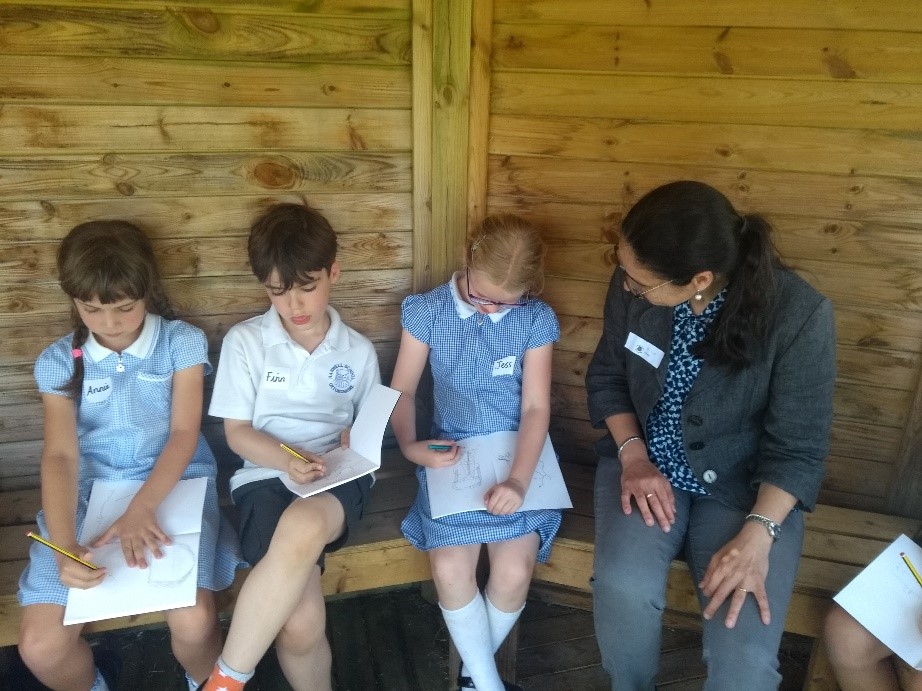
Give each student a clipboard and some paper and ask them to find a location where they can see at least one side of the school building. Ask them to draw the part of the building they can see as accurately as possible in the centre of their paper with plenty of space surrounding it. This is called an elevation drawing. Once they have done this, give them some tracing paper and ask them to place it over the top of their drawing. Now ask them to redesign the part of the building they can see so that an extra learning space or room could be included as an extension. This could be to the side, top or front of the space drawn, and could be designed to blend in with the original façade or stand out. They will need to think about what features they keep or get rid of from their original drawing, what materials the new parts would use, how would light go into the new space. By drawing it on the tracing paper they can then see the original and new design.
5. Skyline Sketching
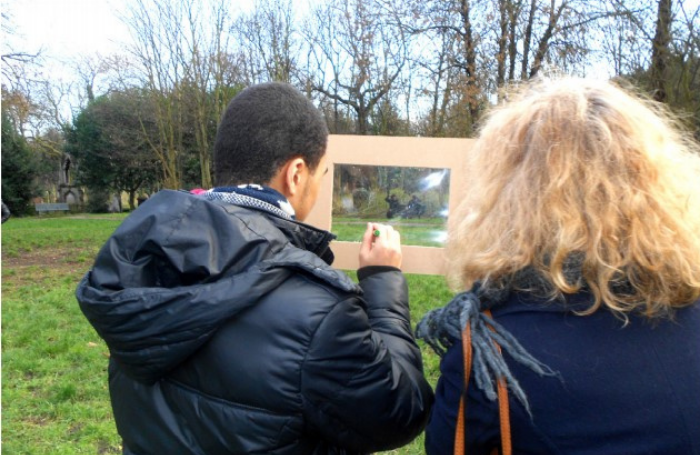
Ask each student to make an A4 acetate lens (place two sheets of card or cardboard together and cut out the middle section to make a frame, staple one side together, and slip a sheet of acetate between them). Allow students to go around the school ground and look for skylines they find interesting – either looking out into the distance of surrounding areas or observing the school building from different angles. Ask students to sketch the skyline they see on their acetate frame using markers. Ask them to add details to their drawings.
6. Mapping a Journey
Take students on a walk around their school or local neighbourhood and get them to analyse and record their journey. Ask them to consider:
 Which spaces and places are the most memorable?
- Which are universally accessible? For example, could you make use of them if you are in a wheelchair, or deaf or partially sighted?
- Can everyone move freely around the space?
- What types of buildings and materials can they see?
- How do they feel in each part of the journey?
You could use a GPS or maps to precisely record where you go or use more analogue methods such as students memory and observation skills when they return to the classroom. Ask students to try and represent their journey in a visual format such as a comic strip, drawing or space diagram. Why not ask them to mark any emotional responses they had to different areas using a colour key?
